Our friend Tatiana of ethical home decor brand Zuahaza is here today with a DIY natural avocado dye tutorial that is so thorough and easy to follow even novice dyers will be able to pull it off! If you aren’t familiar with Tatiana’s work, be sure to check out their studio tour and behind the scenes of their latest collection of textiles, inspired by Colombian fruits. Now for her tutorial, below…
As a brand dedicated to revitalize the craft of weaving and naturally dyeing, we are invested in learning and teaching the beautiful and ancient art of natural dyeing. Natural dyeing is the practice of using natural ingredients such as plants and food waste to obtain colors to dye fabric with. However, with the invention of synthetic dyes, the entire textile industry has relied heavily on petroleum-base substances to dye our fibers, contaminating our water sources, soils and affecting the health of the people who directly interact with these dyes. Natural dyes on the other hand, are biodegradable and cause minimal environmental impact when used with safe mordants. For our business, using natural dyes instead of chemical ones is a way we can directly minimize our environmental impact, creating products that can be 100% biodegradable at the end of their life cycle.
We also love how fun this craft can be! It makes for a great science and art project for families and kids learning at home during this season of quarantine. You only need to save some of your natural waste material and/or find local plants to dye some old cotton t-shirts or new wool yarn to knit with. We decided to start with a very simple recipe many people can do at home because all you need is your avocado pits and skins! We will be sharing more recipes over the next months, but we though this one was an easy one for those who have never dyed with food waste material before! Let’s get started.
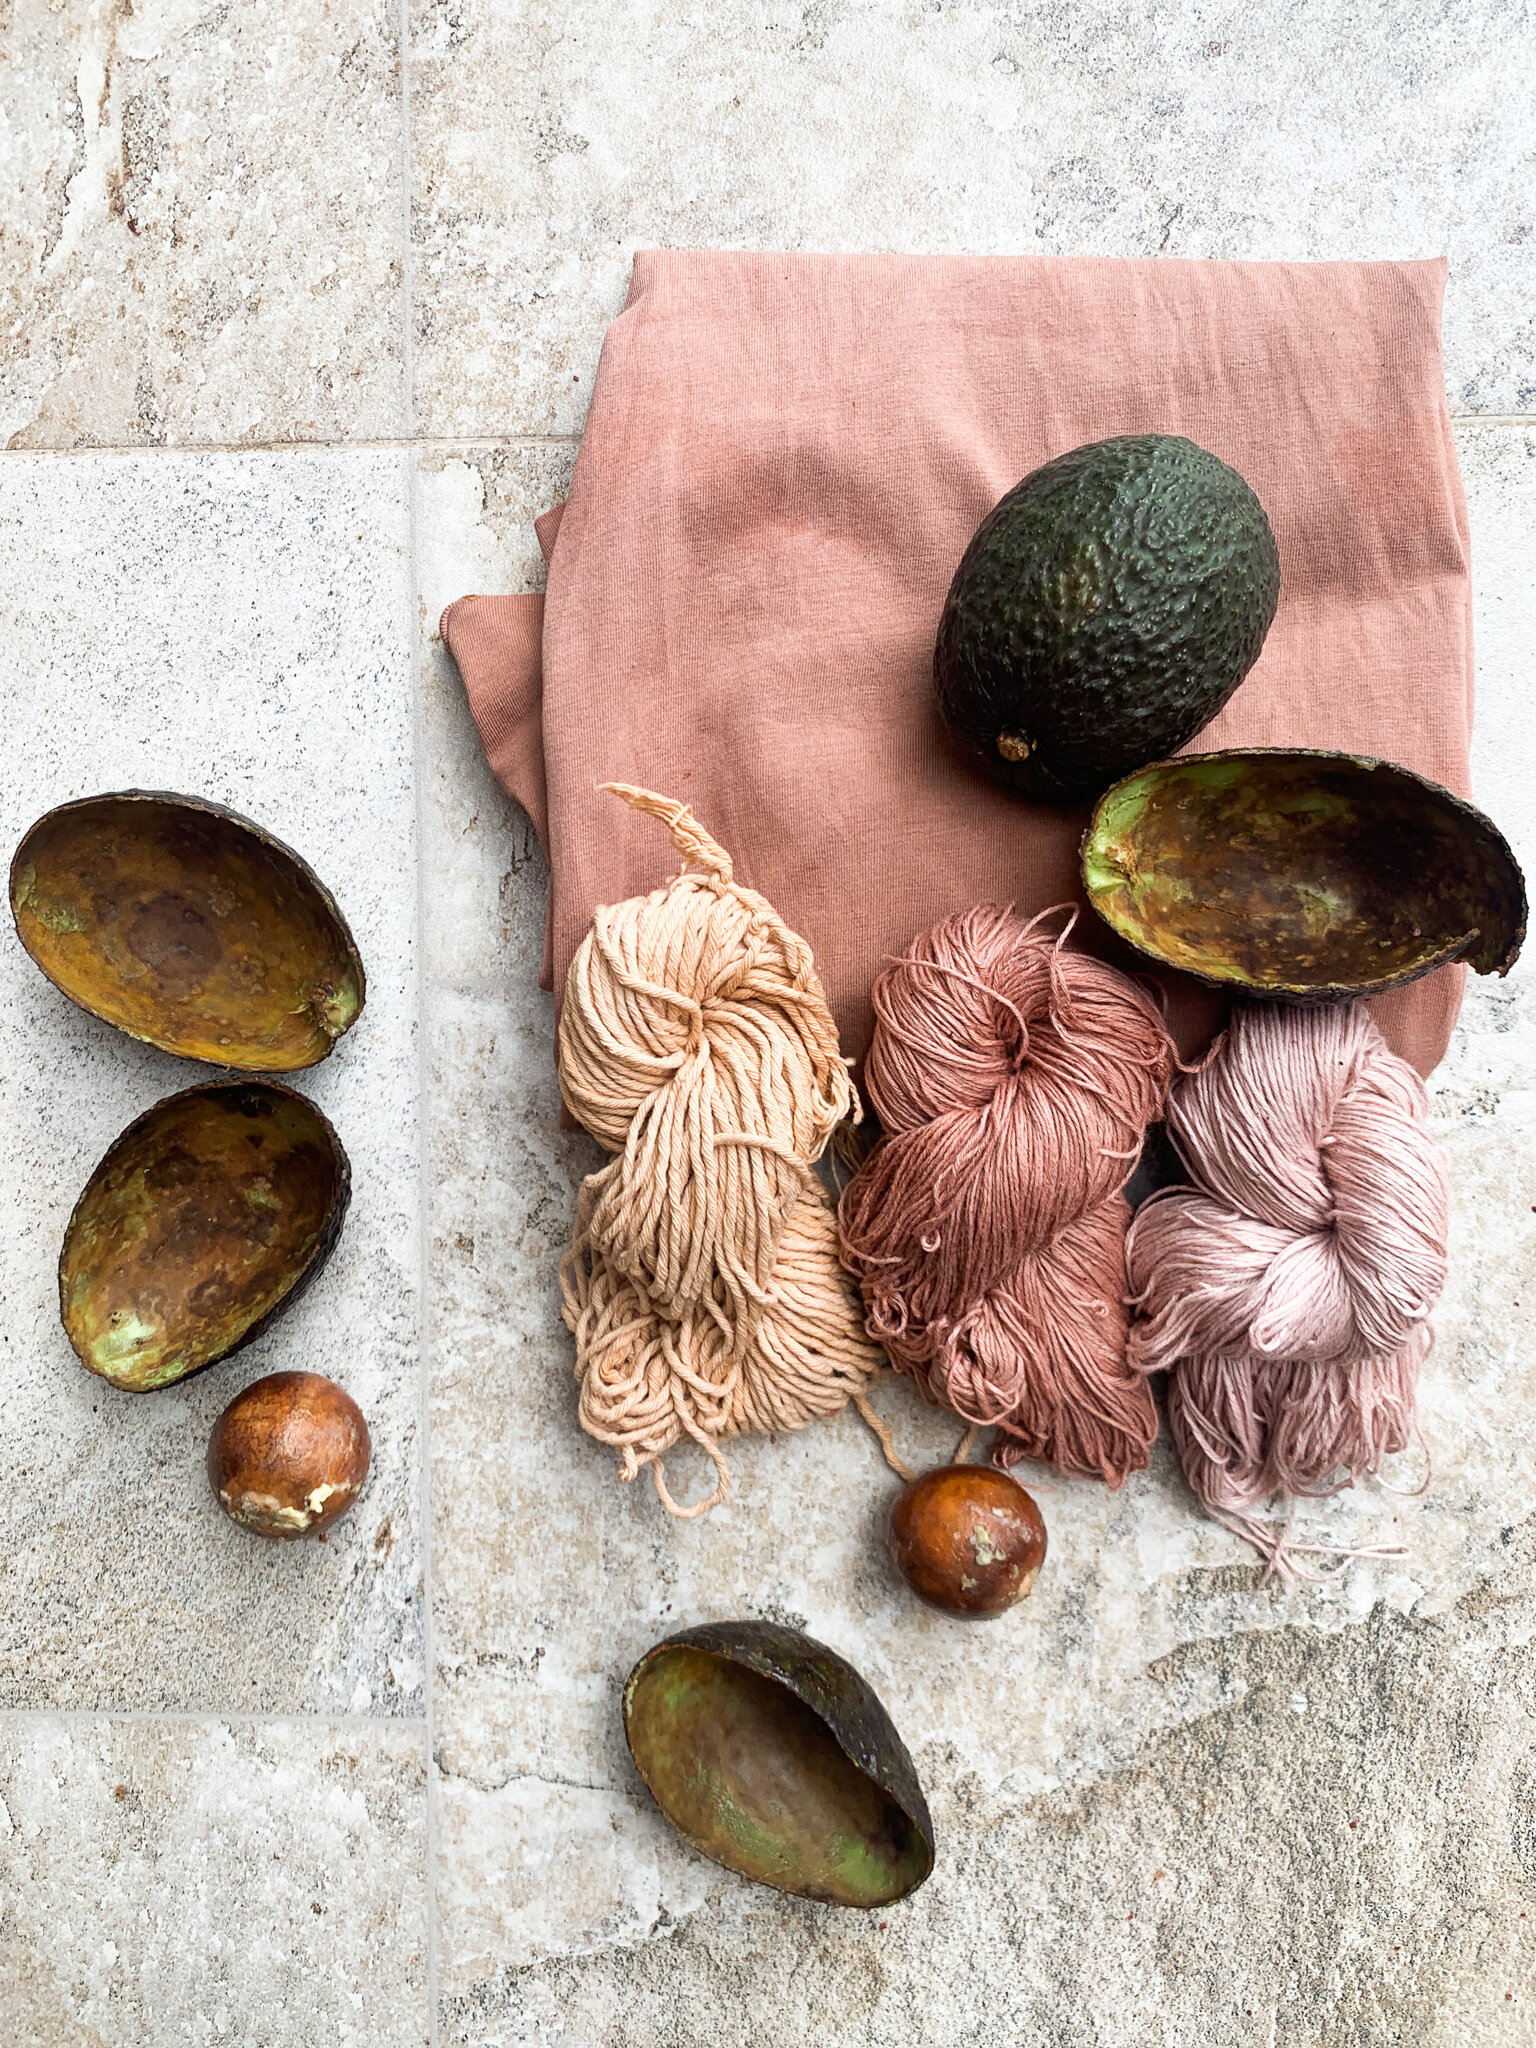
DIY Natural Avocado Dye: What You’ll Need
- Avocado skins and pits. I normally collect them over 2 weeks and place them in a bag and put them in the freezer to avoid them collecting mold. Collect enough to make up around the same weight as your fiber goods. For this project I recommend between (100-200g). Also, make sure to wash off the green remnants of avocado well. I recommend using the hass avocados instead of the bigger ones.
- 100-200g of any natural fiber fabric or yarn. Natural dyeing only works with natural fibers. Make sure that the yarn skein or cloth that you pick is made out of cotton, wool, linen, alpaca, any animal or vegetable fiber. That means no polyester or nylon fabrics.
- Alum powder or an aluminium stone. There are some great websites that sell natural dyeing materials. Dharma Trading sells alum powder, you can order online here. If you are using powder, you will need only 1 tablespoon of powder per 100g of fiber. If you are in Colombia or in other countries outside the US and Europe, I recommend buying aluminium stone, which can easily be found in pharmacies or online. They sell small packs of 1 stone in pharmacies and you just need 1 or 2 for this project. (I am using alum stone for this tutorial).
- A large staining steel pot.
- A pair of heat resisting gloves.
- A wooden spoon.
- Optional: If you wish to do some shibori (tie-dye) design to your piece then you’ll need rubber bands, cotton rope and/or wood blocks.
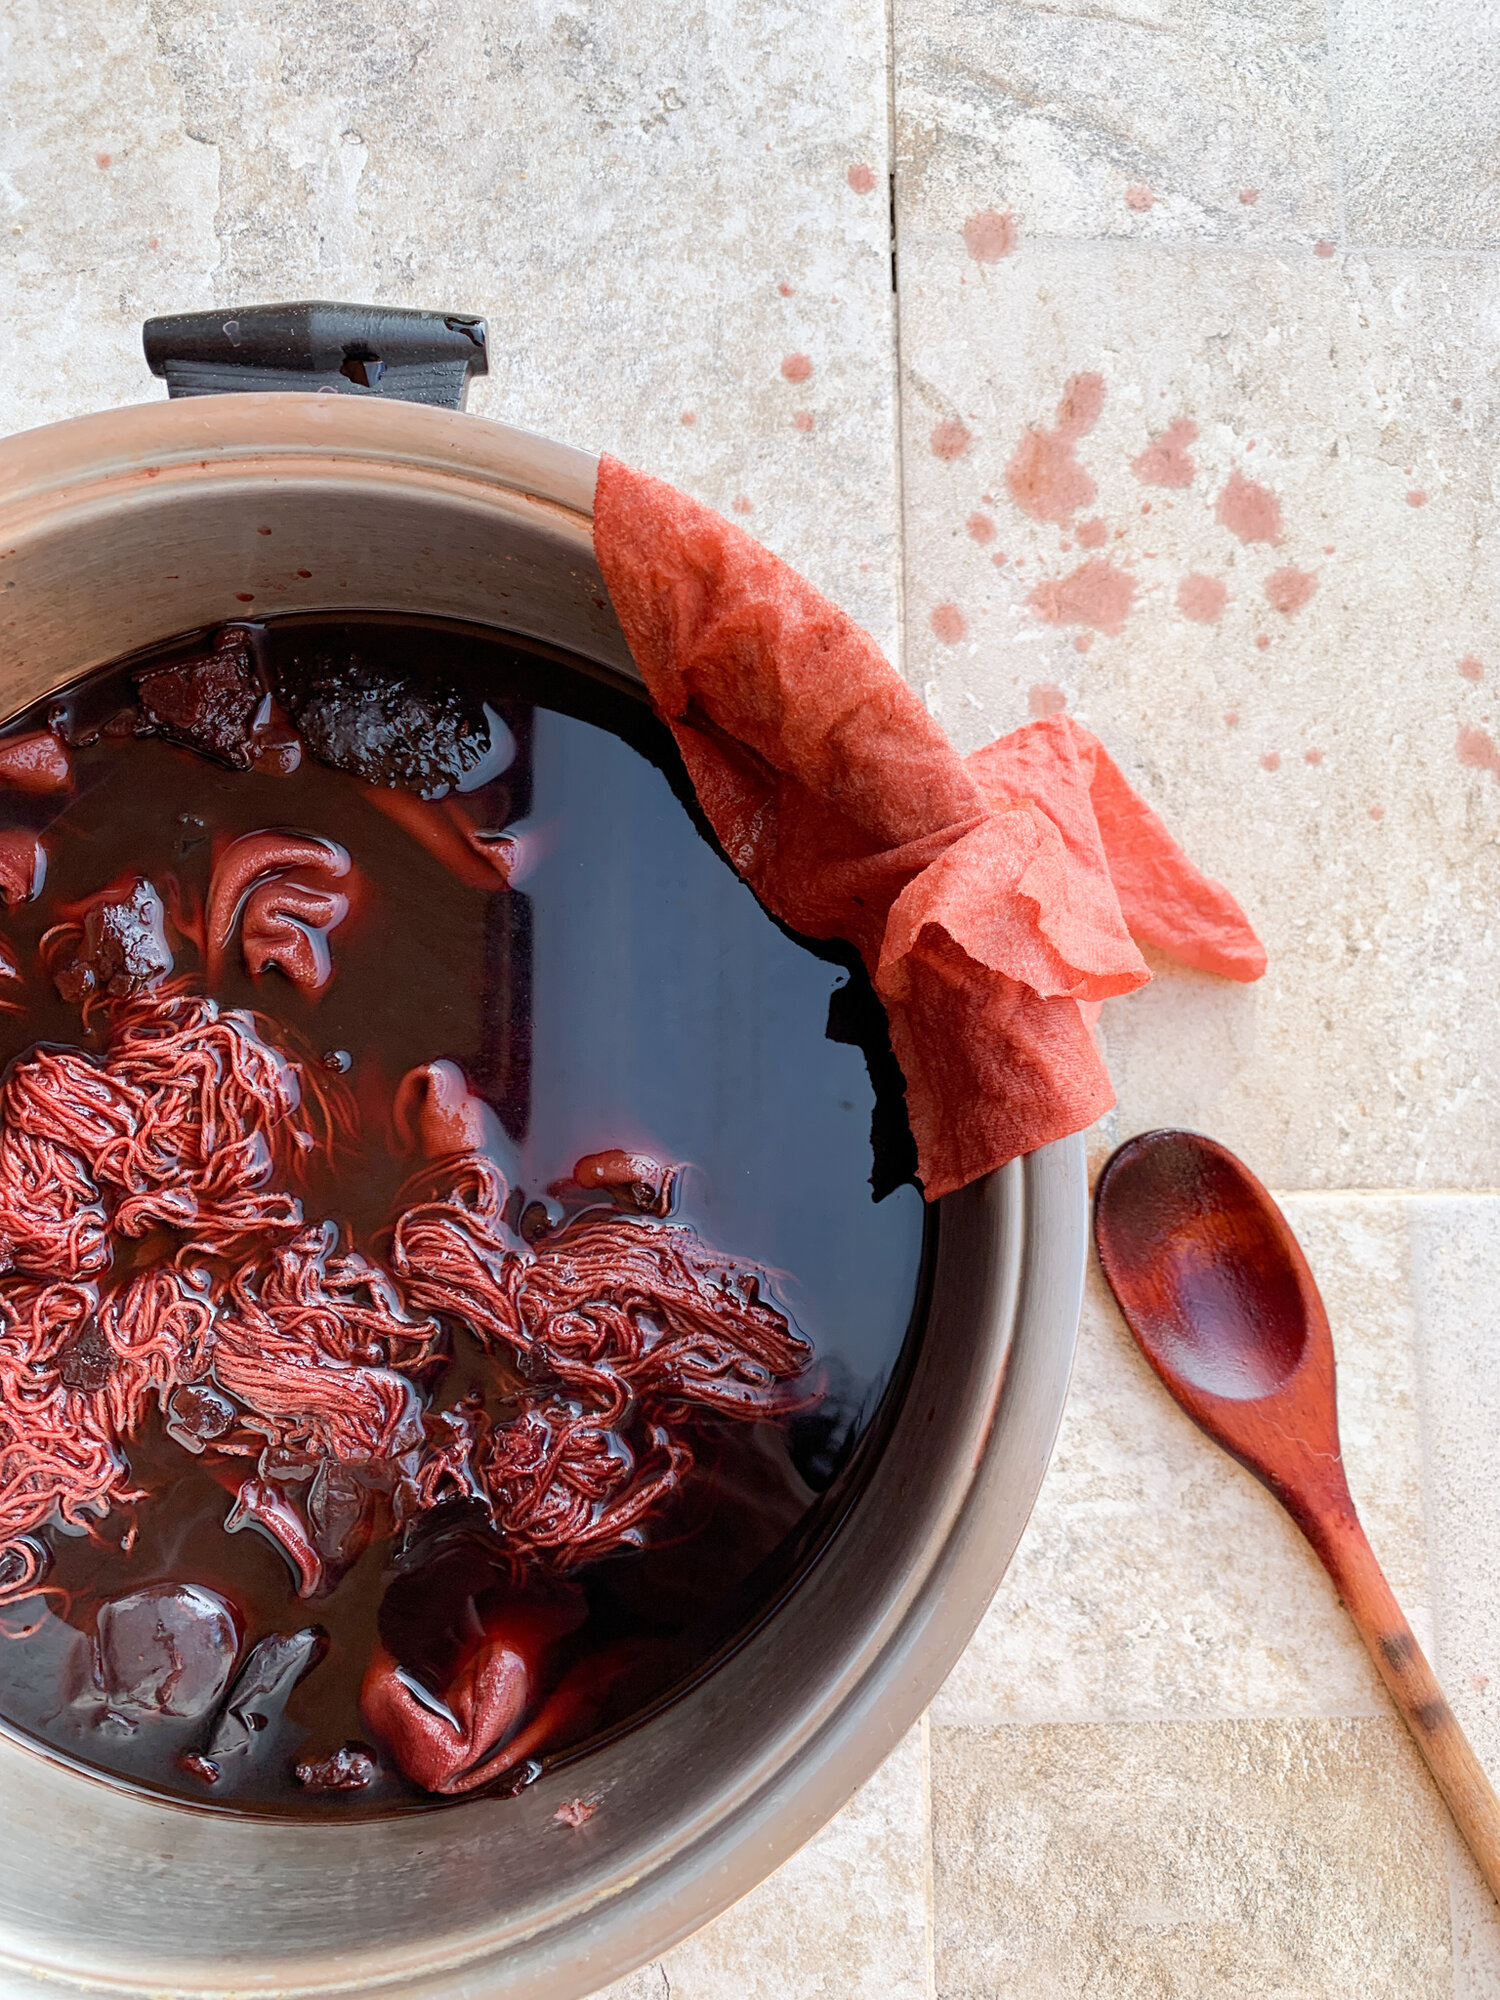
DIY Natural Yarn Dyeing: How To
MORDANTING YOUR FIBERS
Firstly we are going to prepare your fibers to soak up and adhere to the color as much as possible. Avocados have a great advantage over other dyestuffs and is that they contain tannins. Tannins are found in wood, bark, leaves and fruit of plants as various as oak, rhubarb, tea, walnut, cranberry, cacao, grapes and wine. The purpose of tannins is to protect the fruit or plant from animals eating them before they are ripe. But most importantly, tannins are natural mordants for dyeing fabric. In other words, avocado dyeing has an advantage and is that it already contains natural mordants to make sure the color won’t wash off. However, I personally prefer to always mordant all my fibers with aluminium prior to dyeing because it makes the colors stronger and even more long lasting. Is a simple easy step that helps you rest asure your color won’t wash off after dyeing.
-
Boil enough water in a medium size pot. Just enough to cover your fibers.
-
Introduce 1 aluminium stone or 1-2 teaspoons of aluminium powder (based on the weight of your fibers)
-
Mix thoroughly until dissolved.
-
Wet your fibers. Make sure your fibers (t-shirt or yarn skein) are fully wet before introducing.
-
Introduce your fibers to the hot pot and simmer for 1 hour.
-
Move your fibers around every once in a while. Do not let the fibers sit. This will avoid having uneven color and help you get nice even results
-
Remove and wash with cold water.
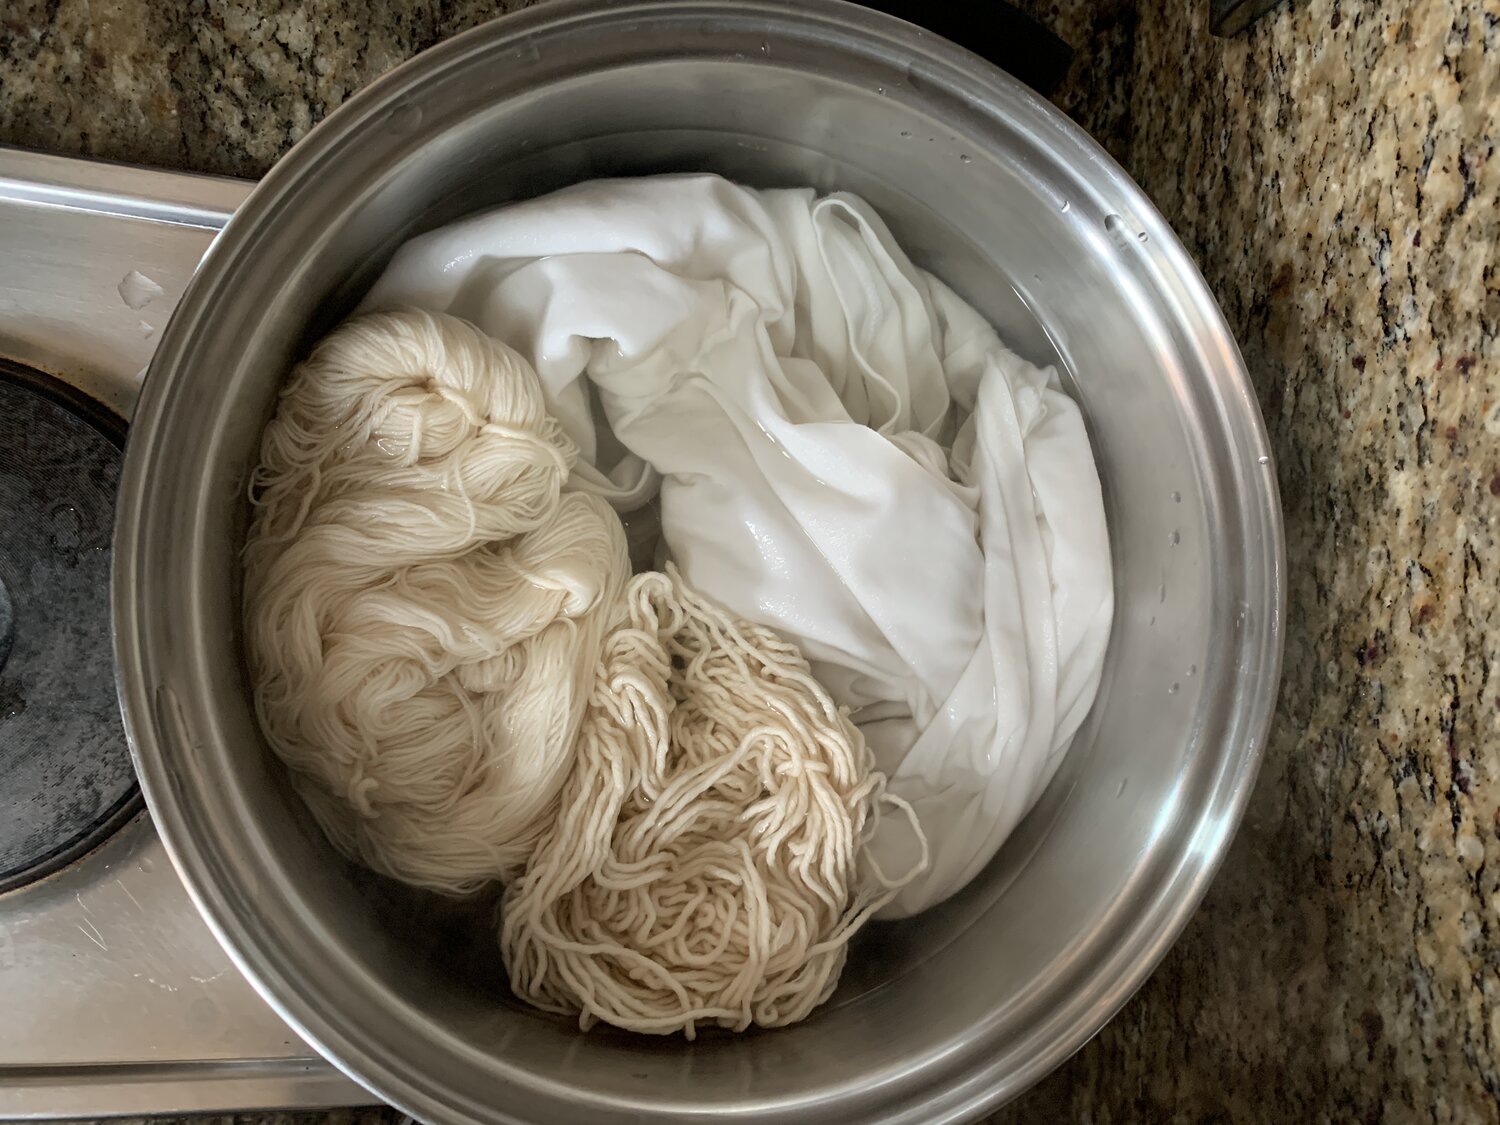
EXTRACTING DYE FROM AVOCADO PITS AND SKINS
After mordanting your fibers, you can leave them inside a bowl or hang them to dry while you work on extracting the dye from the avocado pits and skins. For these next steps you are going to need the avocado skins and pits you stored. Some dyers will use the skins and pits separately and you can also do that. In this case I am using both together to see what shades and depths of colors we get. As a rule, I normally use a 1:1 Ratio. With cotton, colors tend to be less strong, so I would recommend using the same weight of your fibers and dyestuff to get as much depth of color as possible. You will get deeper shades with animals fibers like wool. So, In this case for 150g of fibers I will use 150-200 grams of avocado stones and pits to make sure we get as much color as possible.
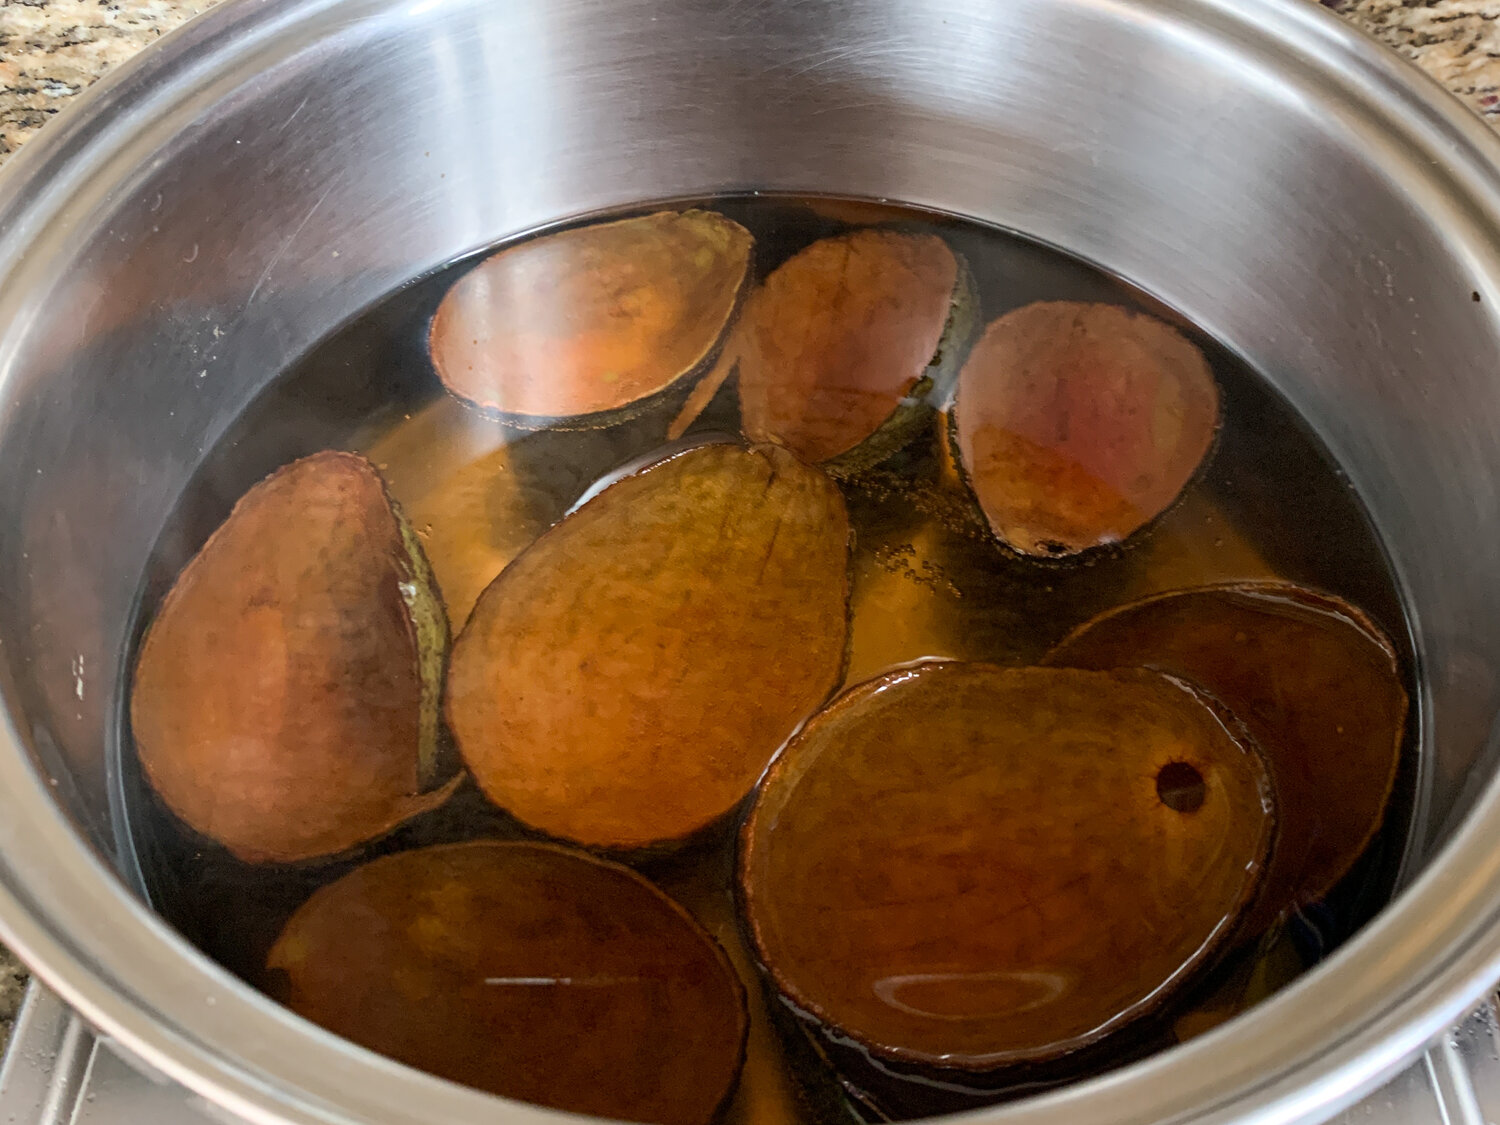
- In a medium size pot, heat enough water to cover fibers until it’s simmering. It’s very important to NOT boil the water. If you do, you can burn and “brown” the dye and only get brown shades.
- Add your avocado skins and pits.
- If you decide to add baking soda, add 1/4 to your pot and dissolve.
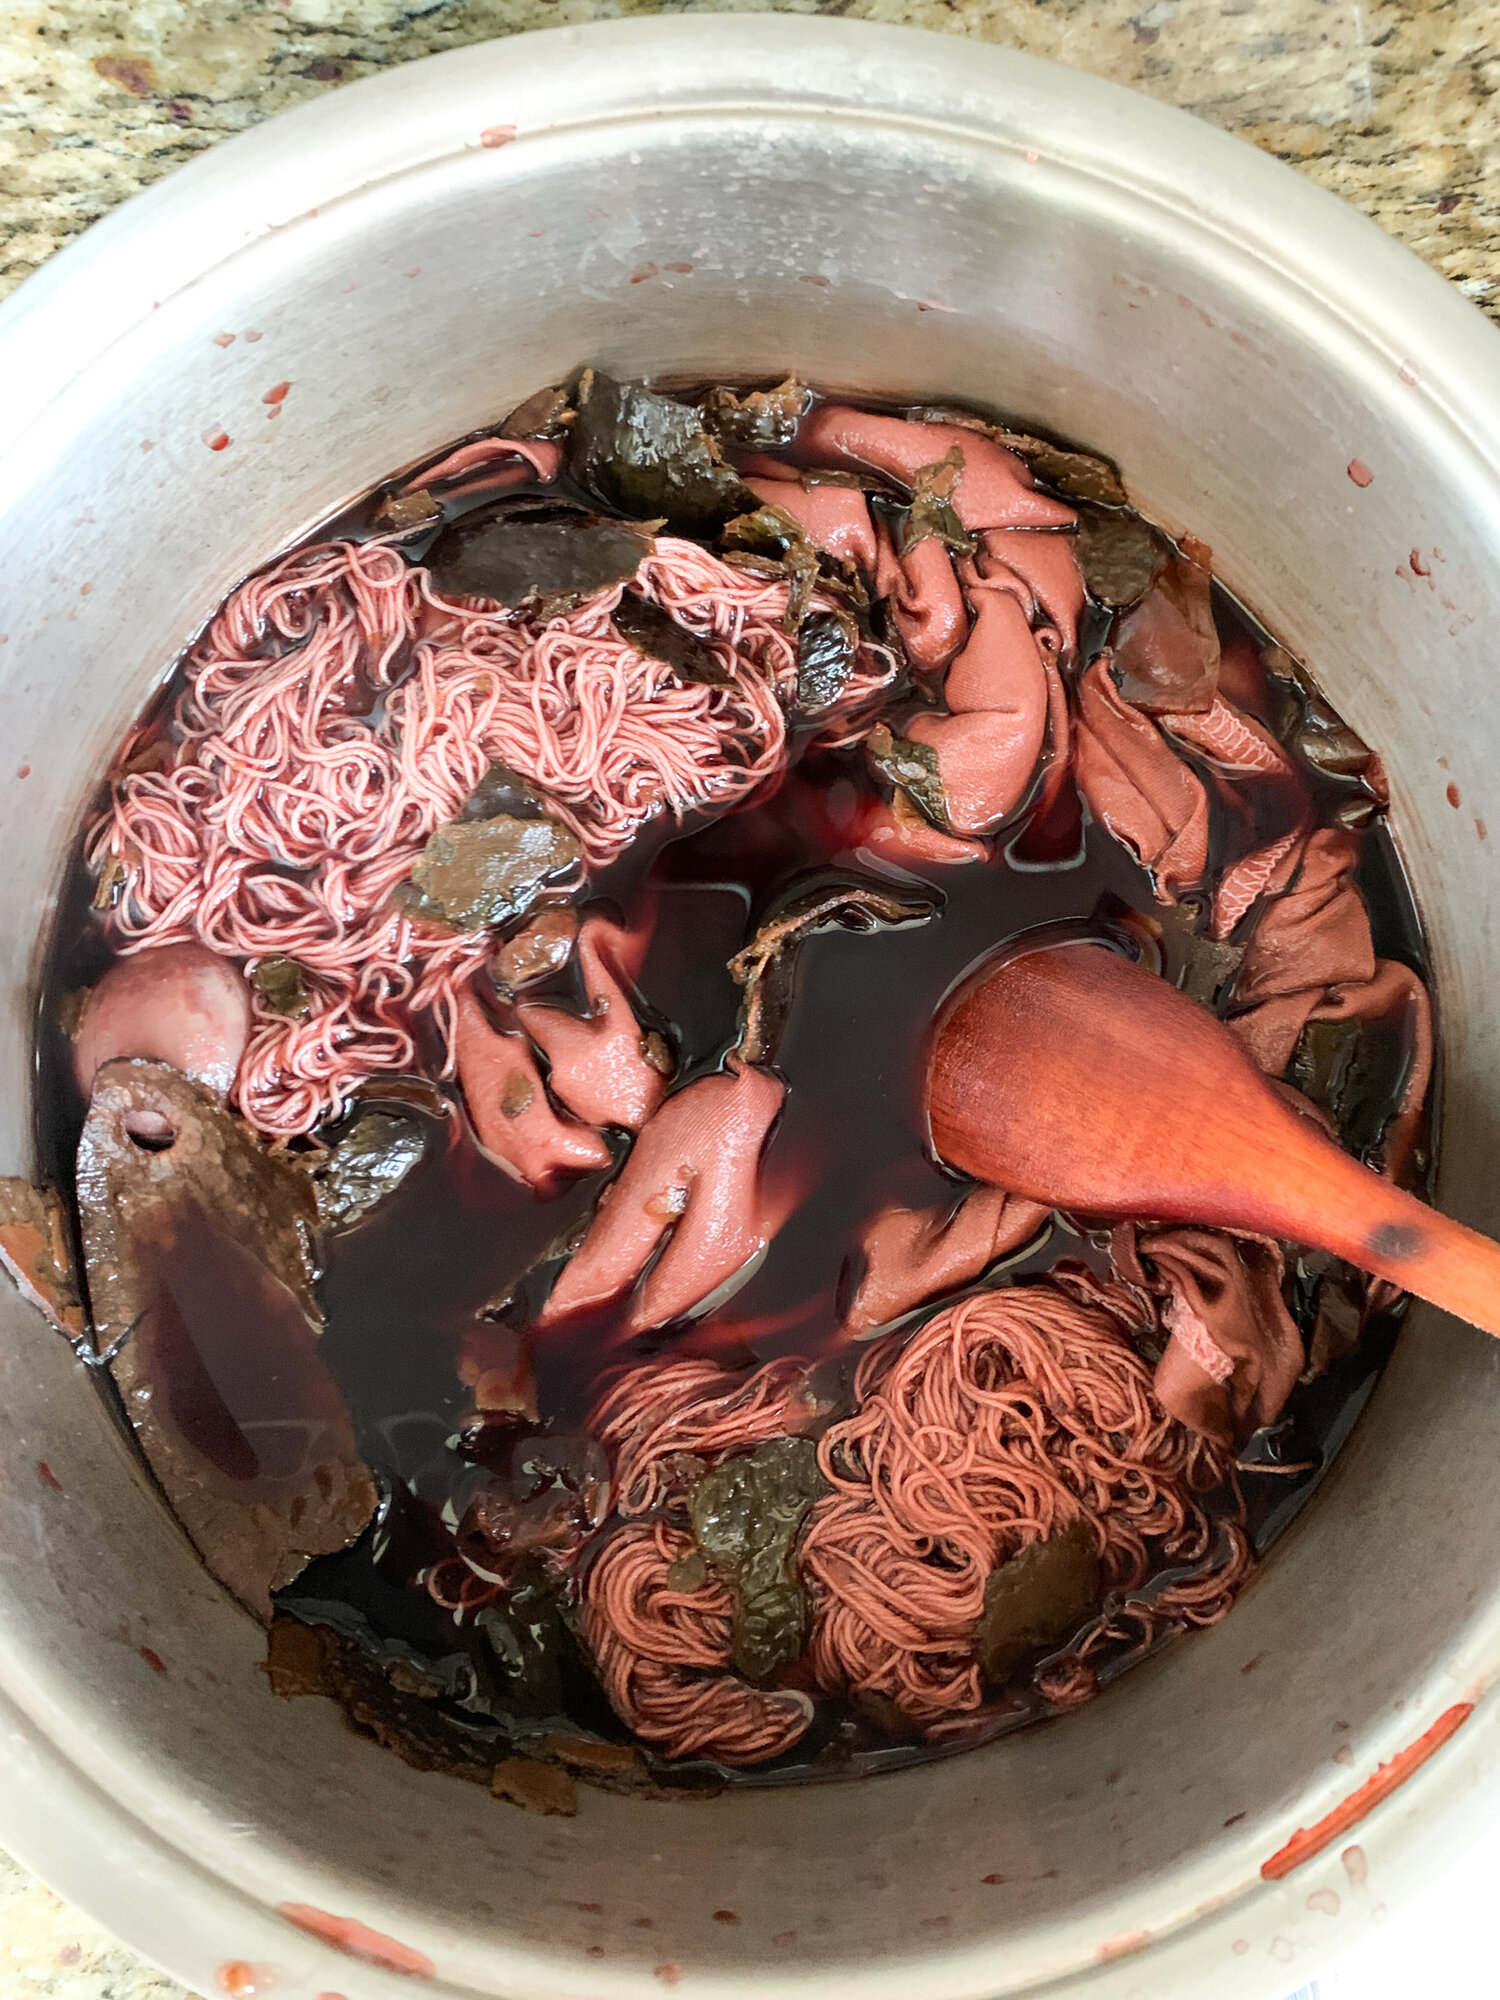
- Stir occasionally and leave simmering for an hour and a half. You will start noticing the water changing color from a light peach to a dark orange and finally to a dark red/purple within the 1st hour.
DYEING THE FIBER
- Add the wet mordanted fiber and stir to make sure you get all the fibers evenly dyed.
- Leave simmering for another 2 hours and stir occasionally.
- Leave your fibers in the pot for 24 to 48 hours. (Colors will get darker the longer you leave your fibers in the pot) Natural dyeing is a SLOW PROCESS! You will notice the dye getting darker the longer tome you leave it to sit.
- When you are ready to take your fibers out, wash off until you see clear water running. This will ensure your cloth won’t run anymore dye when you wash it next time.
- With a strainer, separate the remaining bits of the avocado stones and skins. You can dry them and try extracting more dye out of them a second time. You can also store your liquid dye and try to use it for another dye bath. It will probably be good to use one more time but you might get lighter shades.
DIY NATURAL AVOCADO DYE: THE RESULTS
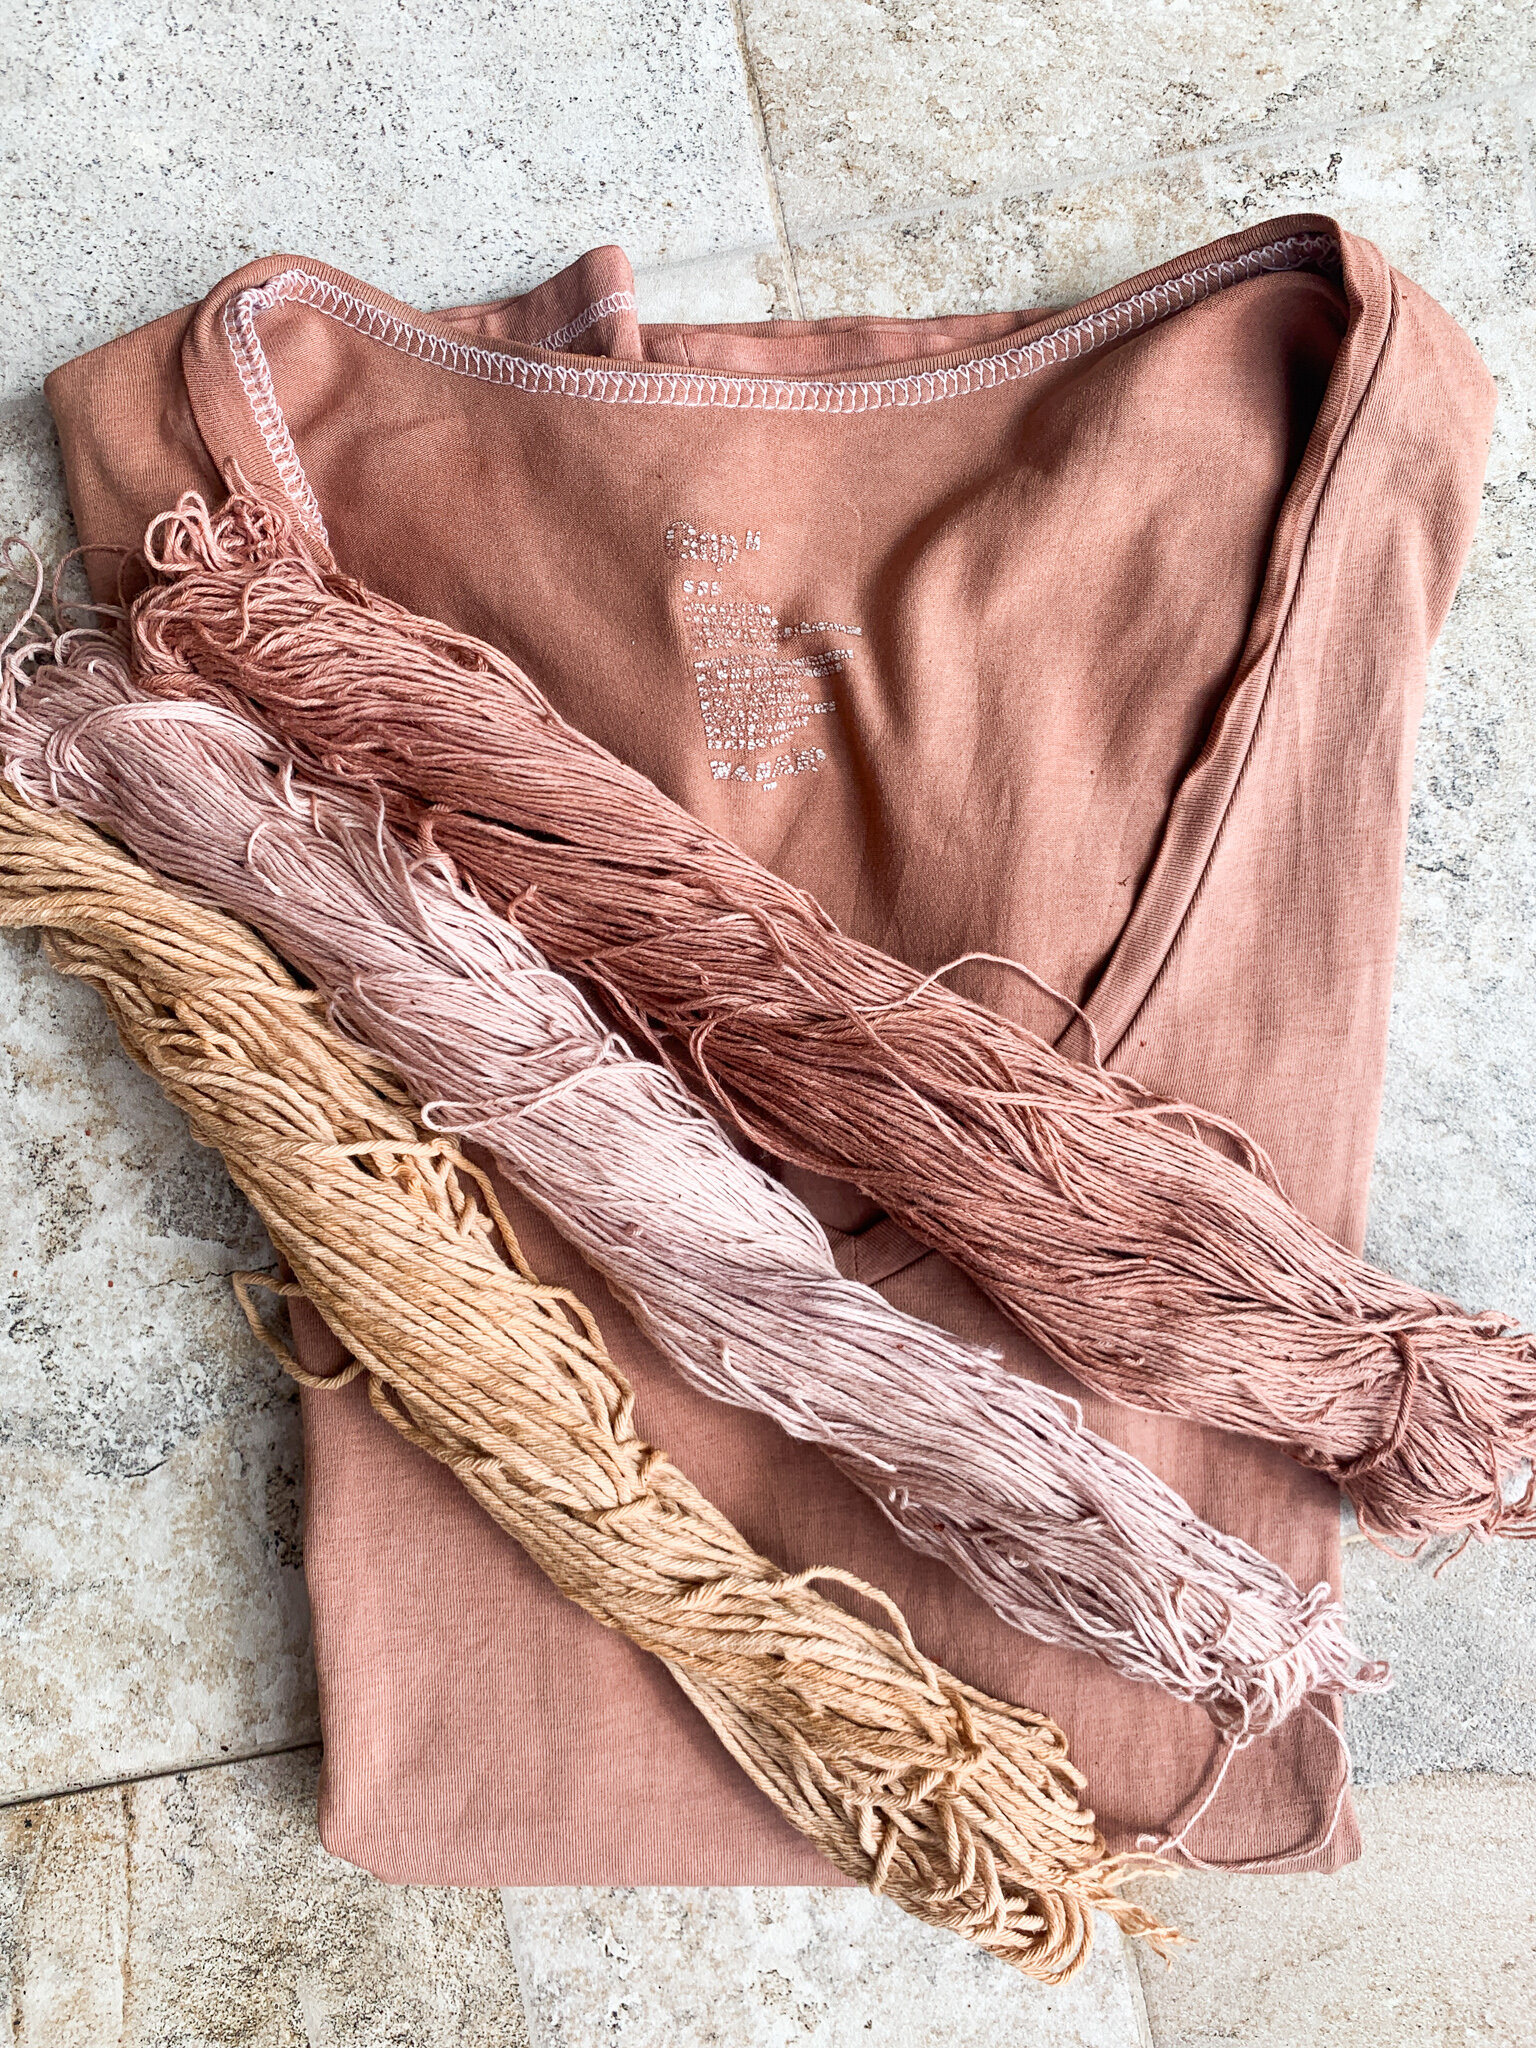
1. The peach cotton yarn skein from my first experiment. I left it in the dye for 48 hours. No baking soda was used in this dye.
2. The one in the middle is a lighter pink shade I got from non-dyed cotton yarn skein and was left for 24 hours in the dye bath.
3. The t-shirt from the bottom and the darker dusty pink yarn skein were both pre-dyed with a peach dye bath first (from the first experiment) and then re-dyed for 48 hours with the redder dye bath. There were the deeper results because they were technically dyed twice and longer.
Notice the the difference in color of the peach yarn which came from the dye bath with no baking soda and the depth of color that came from the extra 24 hours of the pre-dyed peach t-shirt and yarn skein. This can help us understand that avocado dyeing can give us many results, from very light peach shades to deep burgundy colors. It all depends on the amount of time you leave your fibers to soak dye and playing with changing your ph (acidic or alkali) from your water by adding baking soda.

[…] practices. But from that breeds techniques like upcycling vintage, scrap, and deadstock fabric, making use of natural dyes, and other almost forgotten (in America) methods of making and mending, like it has in cultures […]